How to Make Herbal Syrups at Home from your Garden Herbs
Herbal syrups are a classic way to harness the therapeutic properties of herbs in a tasty, easy-to-take preparation. Simmering herbs in a simple syrup base helps extract and preserve their beneficial compounds while the sweet taste makes them pleasant to consume. Herbal syrups provide gentle, natural relief for issues like sore throats, coughs, congestion, and more. Read on to learn how make your own healing herbal syrups using fresh or dried herbs from your garden.
What Are Herbal Syrups?
Herbal syrups are liquid preparations made by infusing herbs in a sweetened water or sugar solution. The herbs are simmered to extract their beneficial phytochemicals, vitamins, minerals, and volatile oils into the water. Once strained, sugar or honey is added while the liquid is still hot to create a concentrated syrup. The sugar acts as a natural preservative, so the syrup can be stored and keeps the valuable herbal compounds bioavailable. The sweetness also makes remedies like cough syrup much easier to swallow!
Top Benefits of Herbal Syrups for Medicinal Use
Some of the key therapeutic benefits that can be obtained from using herbal syrups medicinally include:
- Soothe sore throats and coughs – Demulcents coat and soothing irritations
- Loosen mucus – Expectorants clear congestion in lungs and sinuses
- Provide antioxidants – Berries, rosehips, elderberry are rich sources
- Relieve nausea – Ginger is excellent for settling the stomach
- Gentle pain relief – Analgesic and anti-inflammatory herbs like turmeric
- Mild sedative aid – Chamomile, lavender, lemon balm encourage rest
- Immune boosting – Echinacea, astragalus, reishi enhance immunity
- Kid friendliness – The sweet taste appeals to children
Syrups are extremely versatile for delivering herbal remedies, especially for kids. They can also be added to food and drinks for health boosts.
How to Choose the Right Herbs for Medicinal Syrups
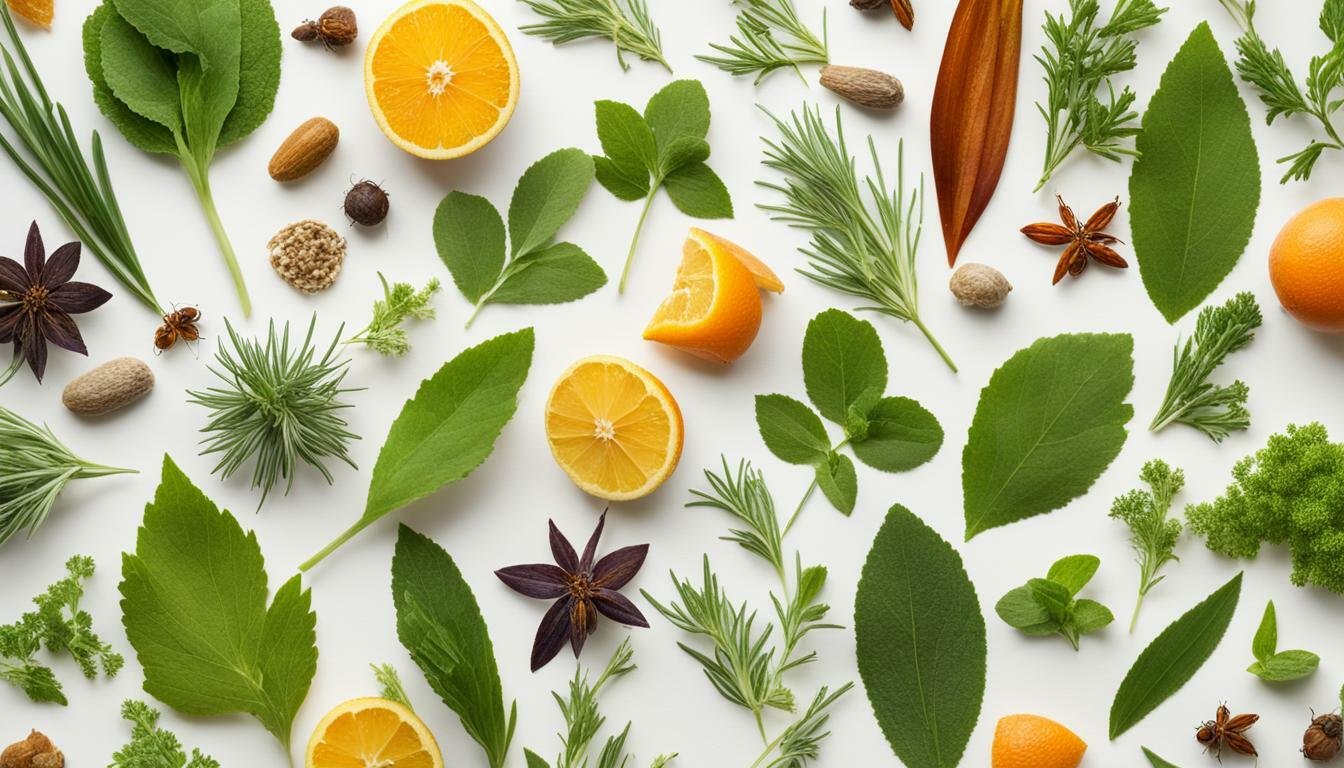
Many culinary herbs and medicinal plants can be transformed into healing herbal syrups. Some of the best options include:
- Elderberry – Immune support, vitamins, antioxidants
- Echinacea – Anti-inflammatory, immunity enhancer
- Ginger – Warming, circulation, nausea relief
- Licorice root – Soothes sore throats, aids digestion
- Turmeric – Anti-inflammatory, antioxidant benefits
- Lemon balm – Uplifting, soothing, calming effects
- Marshmallow root – Demulcent for coating coughs, throat
- Sage – Antimicrobial, astringent, digestive aid
- Thyme – Antimicrobial, expectorant for congestion
- Rosehips – Immune booster, bioflavonoids, vitamin C
The herb you choose depends on the therapeutic effects you desire from the syrup. Do your research before ingesting any new medicinal herb. Next, let’s look at how to prepare it.

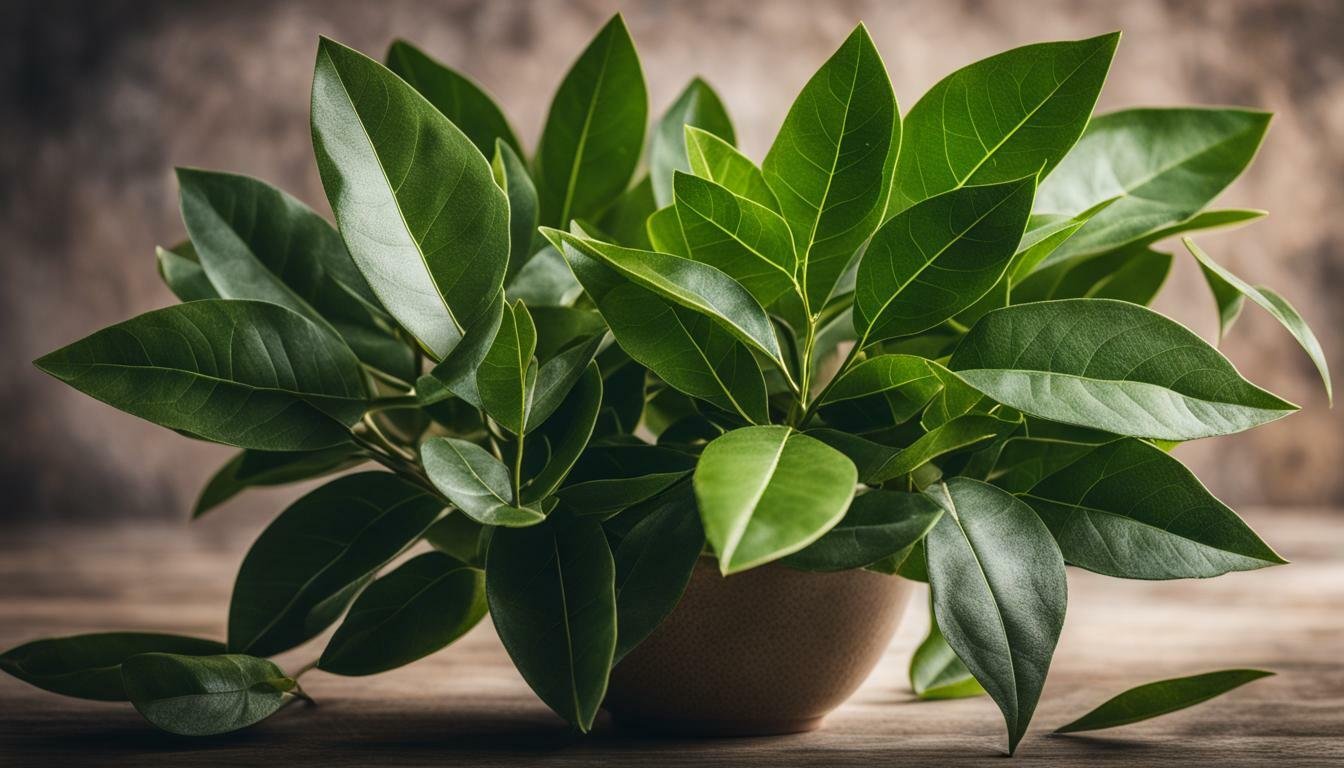
How to Prepare Herbs for Making Medicinal Syrups
Proper harvesting, drying and storage of herbs is key to harnessing their full benefits in syrups. Here are some tips:
- Harvest herbs in the morning when concentrations of oils and compounds peak.
- Use leaves, flowers, stems or roots – the part used depends on the herb.
- Wash herbs gently if needed and allow to fully dry before use.
- Quickly dry herbs in a single layer on screens or hang bundles upside down.
- Store thoroughly dried herbs in airtight containers in a cool, dark place.
- Refrigerate fresh herb preparations for up to 6 months.
Follow dosage guidelines carefully when using fresh vs dried herbs in syrups, as the potency can differ. Now let’s get into the simple process of making syrups…
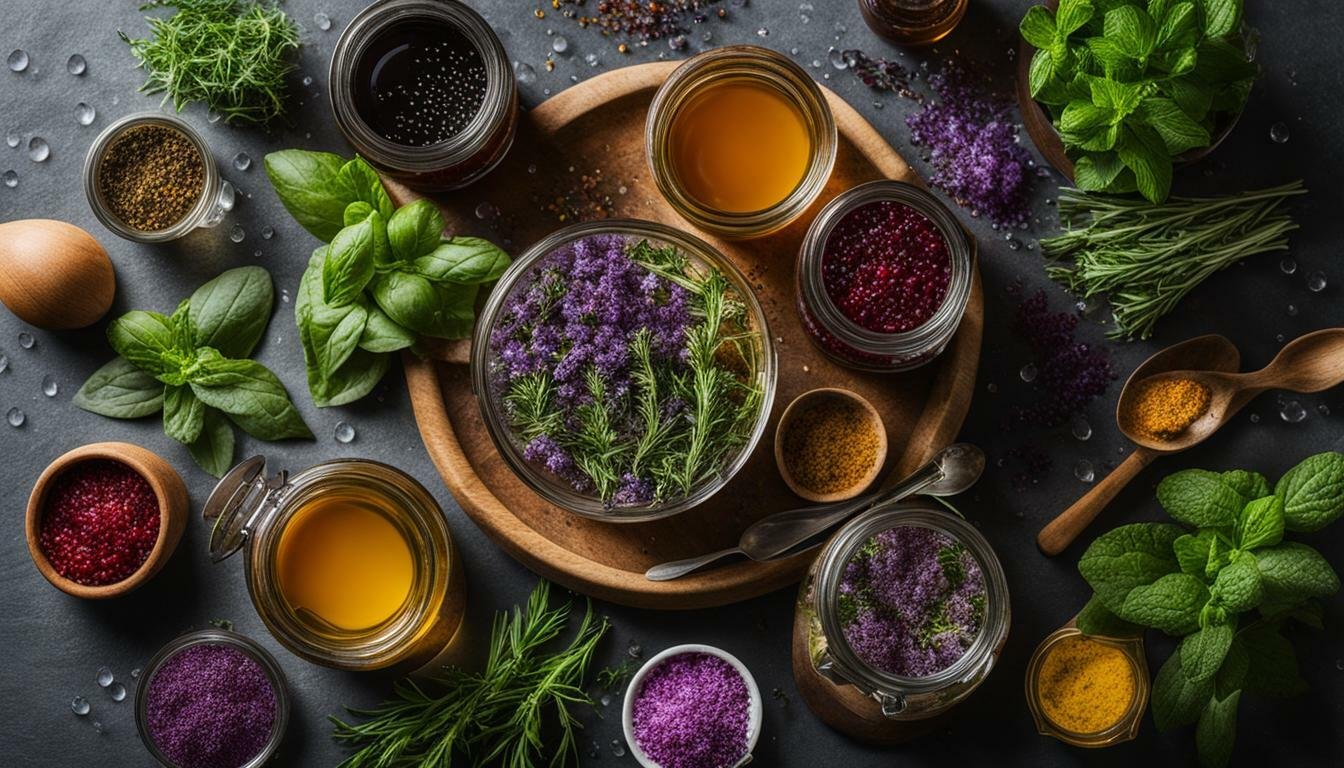
Basic Steps for Making Herbal Syrups at Home
Making medicinal syrups with garden herbs involves just a few easy steps:
- Gather ingredients – Herbs, water, sweetener like honey or maple syrup, clean jars for storage
- Simmer herbs in water – Add herbs to a saucepan with water. Bring to a boil, reduce heat and simmer with the lid on.
- Strain liquid – Pour through a cheesecloth into a bowl, squeezing herbs to extract all liquid.
- Add sweetener – Add your sweetening agent like sugar or honey while liquid is still hot and stir until fully dissolved.
- Bottle syrup – Carefully pour syrup into clean, sterilized bottles or jars. Leave a 1⁄2 inch headspace.
- Store – Seal bottles tightly. Store in the refrigerator for up to 6 months. Shake well before each use.
Be sure to properly identify each syrup with the ingredients, date, and desired dose or use. Now let’s get into some specific syrup recipes.
Herbal Syrup Recipes for Coughs, Colds and Immunity
Here are some sample medicinal syrup recipes to try making with fresh and dried herbs from your garden:
Elderberry Immune Syrup
- 1⁄4 cup dried elderberries
- 4 cups water
- 1 cinnamon stick
- 1⁄4 tsp cloves
- 1 cup honey
Thyme Cough Syrup
- 1⁄4 cup fresh thyme leaves
- 4 cups water
- 1⁄4 cup honey
- 2 tbsp lemon juice
Ginger Nausea Syrup
- 1 tbsp fresh grated ginger
- 1 cup water
- 1⁄4 cup honey or maple syrup
Echinacea Immune Syrup
- 1⁄4 cup dried echinacea
- 4 cups water
- 1⁄2 cup maple syrup
- 1 tsp vanilla extract
Get creative with blending herbs and additives like citrus, vanilla, berries, mints, rosehips, fennel, anise and more to make your own signature syrups!
Herbal syrups are one of the simplest ways to incorporate the wellness benefits of garden herbs into your health regime or to use as natural remedies for children. They make herbs easy to administer and so much tastier! I hope this guide gives you the confidence to start brewing your own.
Tips for Making and Using Herbal Syrups
Follow these tips to get the most medicinal benefit from your homemade herbal syrups:
- Use only fresh, high-quality organic or wildcrafted herbs. Dried herbs work as well.
- Simmer roots, barks and mushrooms for 20-30 minutes. Leaves and flowers only need 10-15 minutes.
- Don’t boil the syrup or overheat herbs, as this can destroy beneficial compounds.
- Strain while hot using cheesecloth to squeeze out all precious herbal juices.
- Add preservative sugar or honey while liquid is still warm so it dissolves fully.
- Start with less sweetener and add more to taste if needed. The syrup will thicken upon cooling.
- Funnel hot syrup carefully into sterile, sealed jars leaving 1⁄2 inch headspace.
- Store in the refrigerator for up to 6 months. Shake well before each use.
- Add syrups to teas, blend into smoothies, make popsicles, or take directly by the spoonful.

Storing and Using Herbal Syrups
After making your herbal syrup, you’ll need to store it properly for future use and explore the many ways to incorporate it into your favorite recipes. Proper storage will ensure that your syrup retains its flavor and freshness for as long as possible. The easiest way to store herbal syrups is by using glass bottles or jars with a tight-fitting lid. This will help to maintain the syrup’s quality and prevent any unwanted flavors or contaminants from seeping in.
It’s important to label your jars with the name of the syrup and the date it was made. This will help you keep track of the different flavors and ensure that you use the oldest syrup first. Remember to store your herbal syrups in a cool, dark place, away from direct sunlight, as exposure to light can cause the flavors to degrade over time. The refrigerator is an ideal storage location, as it will extend the shelf life of your syrups and help them stay fresh for up to a month.
If you want to store your herbal syrup for a longer period, consider freezing it. Freezing is a great way to preserve the flavor and quality of your syrup for several months. Simply pour the syrup into ice cube trays and freeze. Once frozen, transfer the syrup cubes into a freezer-safe container or bag, ensuring they are tightly sealed to prevent freezer burn. Freezing your syrup in smaller portions allows for easy defrosting and minimizes waste.
Benefits of Storing Herbal Syrups
- Preserves the freshness and flavor
- Convenient for future use
- Allows for experimentation with different recipes
- Extends the shelf life
Conclusion
Making healing herbal syrups using fresh or dried herbs from your garden is an extremely rewarding, wellness-enhancing skill for the whole family. With just a few simple steps and ingredients, you can create all-natural, plant-based remedies that taste delicious and provide genuine relief without the negative side effects of OTC medicines. Through trial and error with herbs like elderberry, ginger, echinacea, thyme and other favorites, you’ll fine tune your own recipes perfectly customized to your therapeutic needs. I hope this guide has shown you how accessible herbal syrups are and inspired you get started brewing your own today.
Frequently Asked Questions About Herbal Syrups
What’s the best herb-to-water ratio for syrups?
Use around 1⁄4 cup of dried herbs or 1⁄2 cup fresh herbs per 4 cups of water as a general rule. Adjust amounts as needed.
How long do different herbs need to simmer?
Simmer roots, barks and mushrooms for 20-30 minutes. Leaves, flowers, berries and seeds only need 10-15 minutes.
How long does herbal syrup last?
Stored in a sealed container in the fridge, herbal syrups have a shelf life of 3-6 months.
What are best practices for kids’ cough syrup?
Use child safe herbs like lemon balm, linden flower, ginger, or hyssop. Dose by weight using an herbal reference guide or doctor recommended dosage.
Can I give herbal syrups to pregnant or nursing women?
Avoid hormone-influencing herbs. Otherwise most are likely safe in moderation, but check with your healthcare provider.
What sweeteners can I use besides honey?
Maple syrup, brown rice syrup, agave, and stevia are good options. Glycerin can also be used but doesn’t preserve as well.